LoRa kit
With the LoRa kit you can add a LoRa transceiver module to your badge. This requires some soldering, but otherwise it would not be fun!
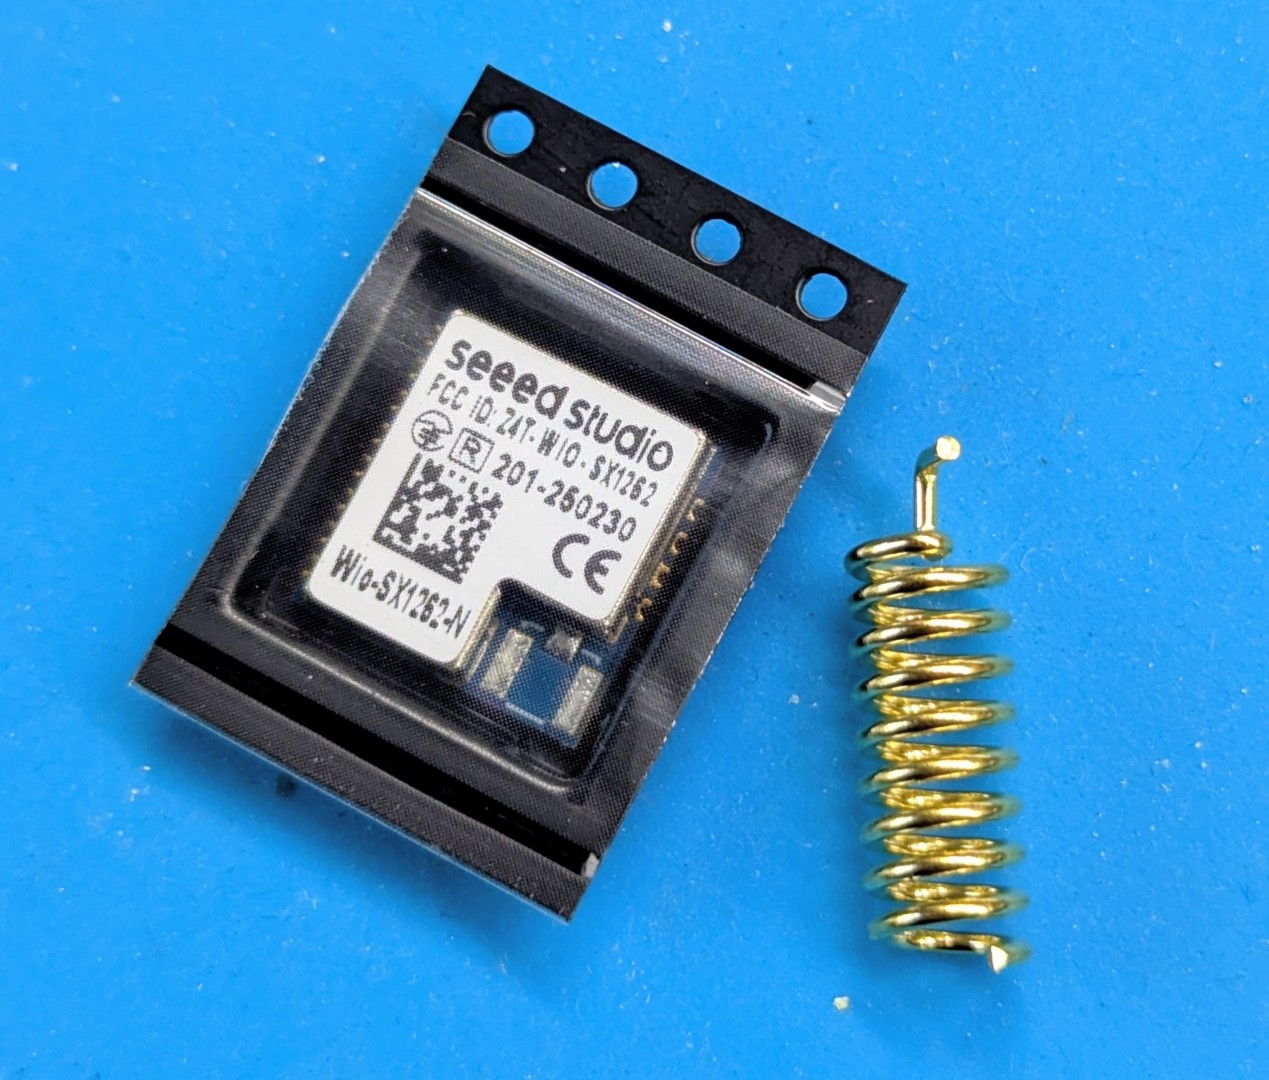
The kit contains
- Seeedstudio Wio-SX1262-N Module
- Spiral antenna
Montage
Position the LoRa Module on the PCB, you can wet one pad beforehand with some solder (add a litte bit of solder to one pad of the module on the bottom).
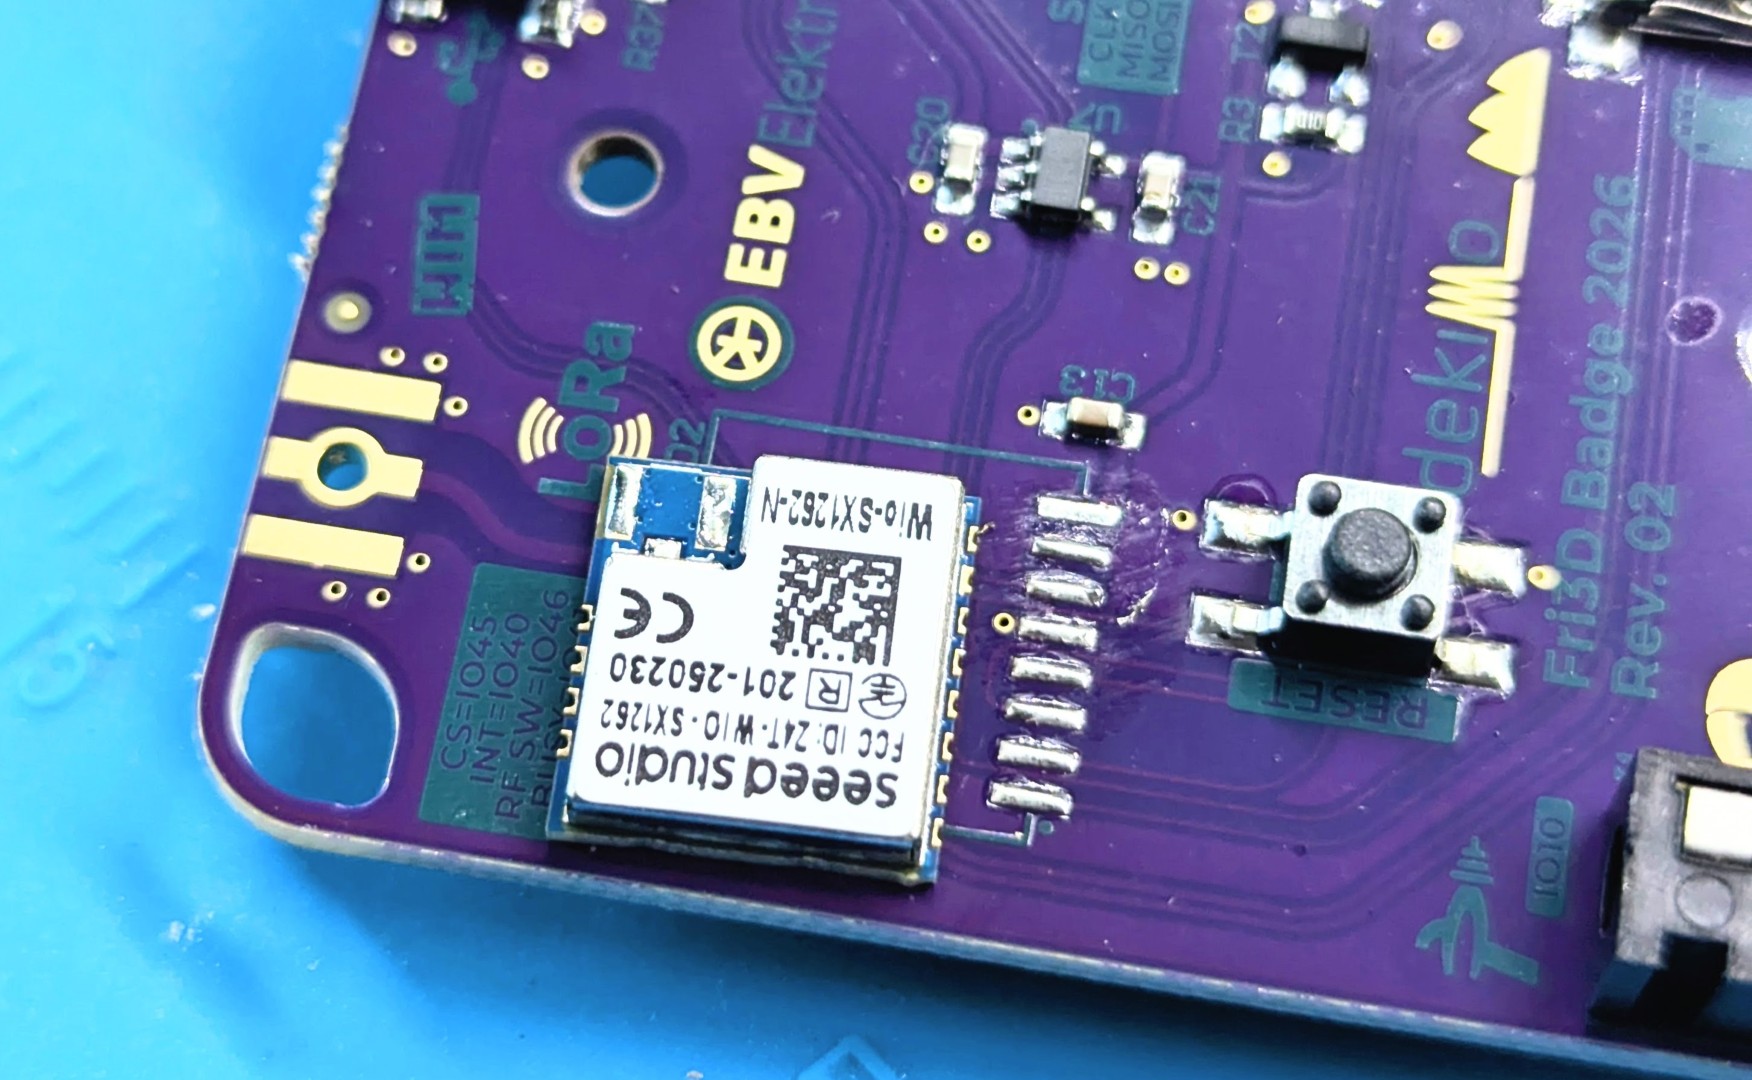
Solder first this one pin, use a pincet to hold the module in place during soldering of the first pin. Then first verify that the module is positioned right on both sides (all module pads line up with the pcb pads).
Next solder all the other pins. Take caution not to bridge the pin and the metal side cover of the module. If soldering does not go smoothly, some flux might perform wonders.
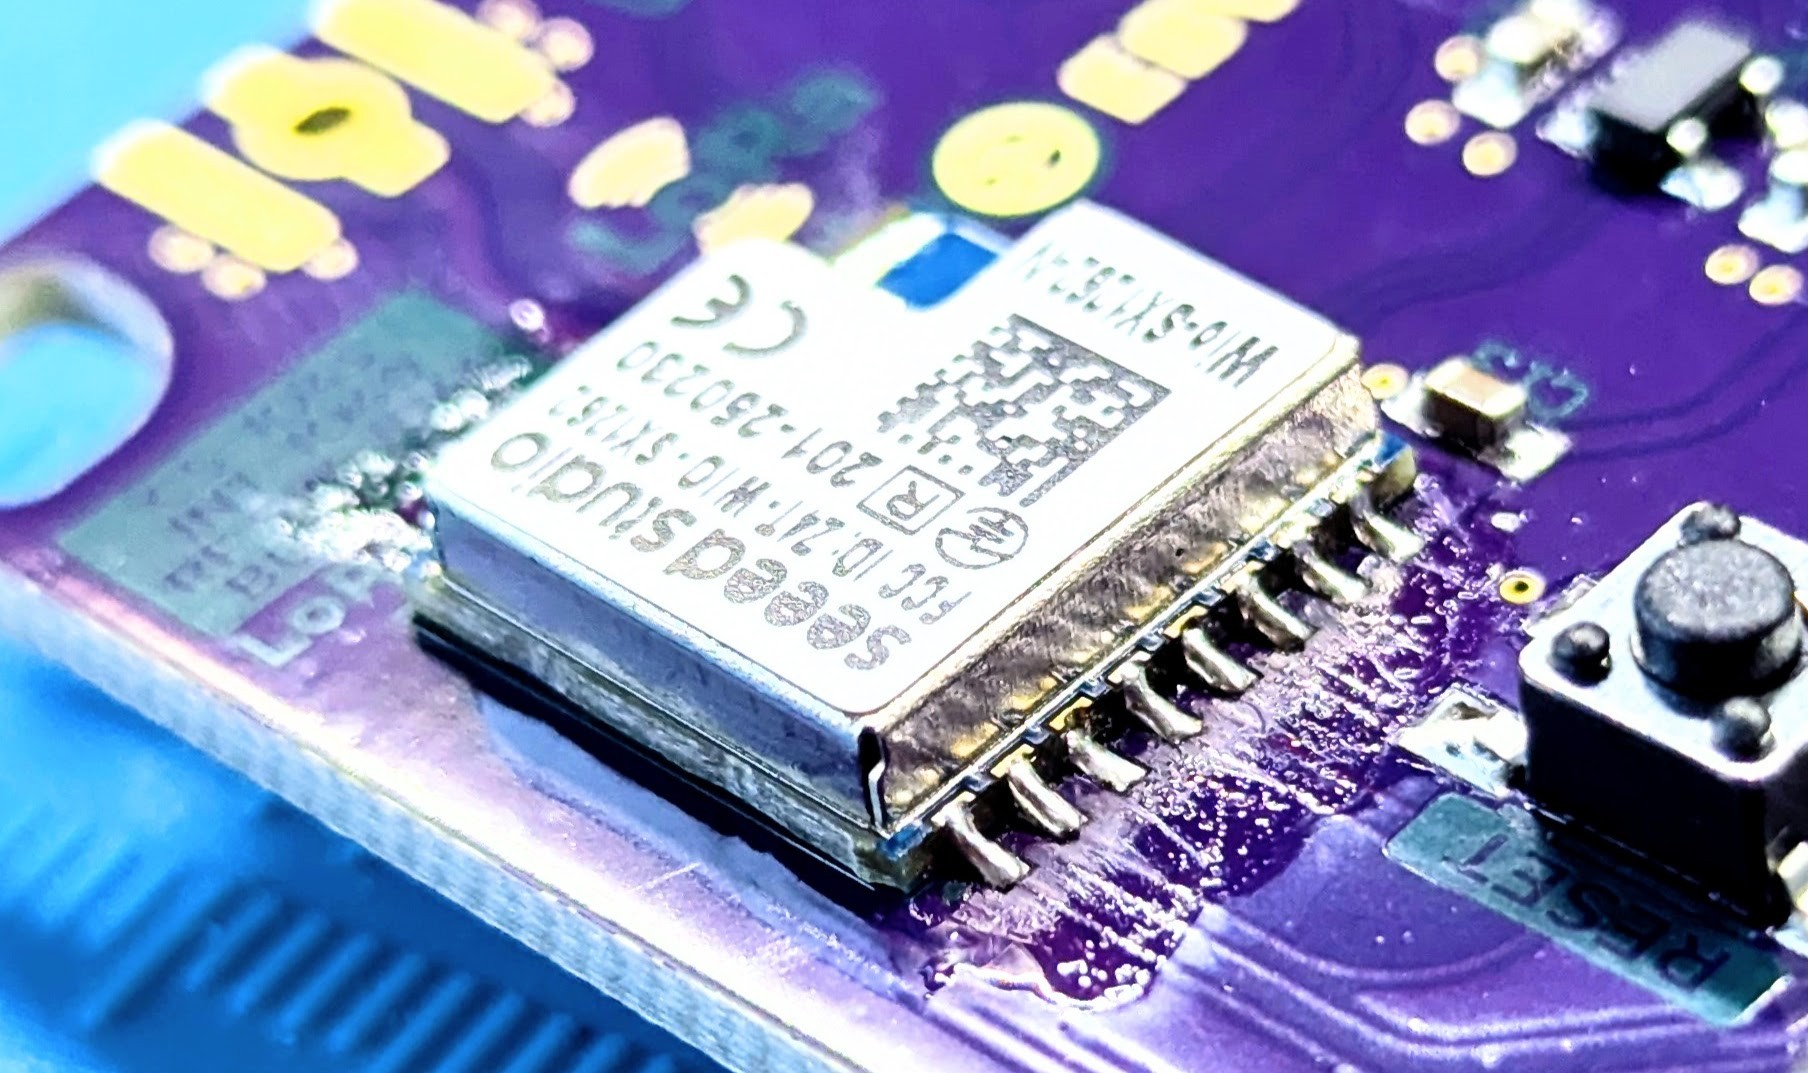
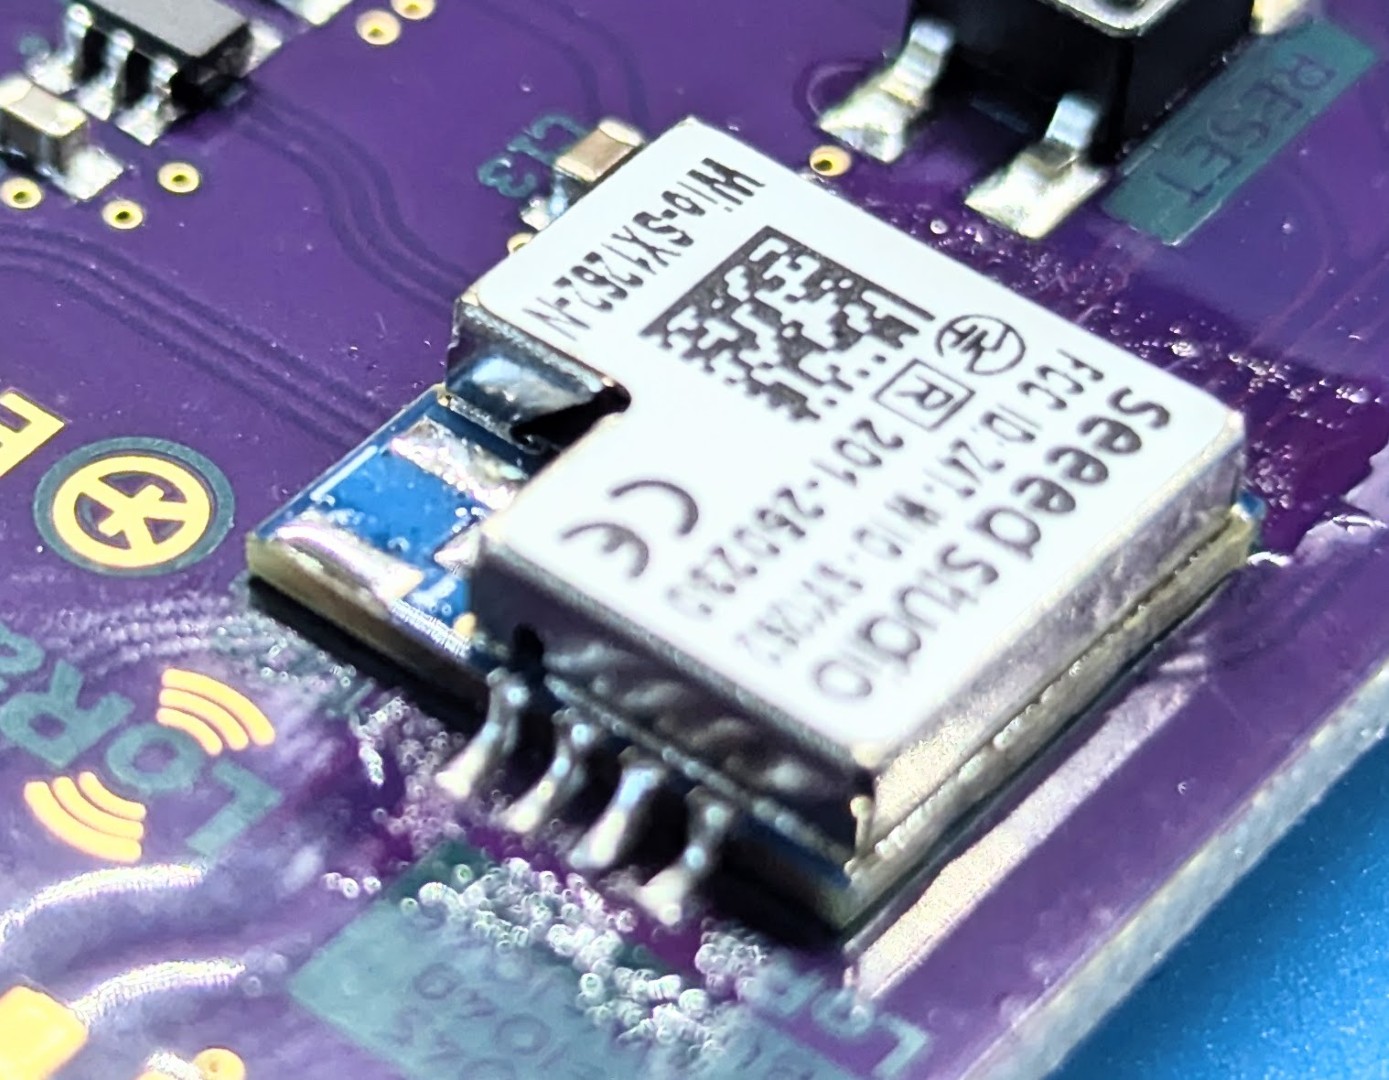
Up next is soldering the antenna (unless you bought the add-on for the SAM connector, then scroll you can scroll down).
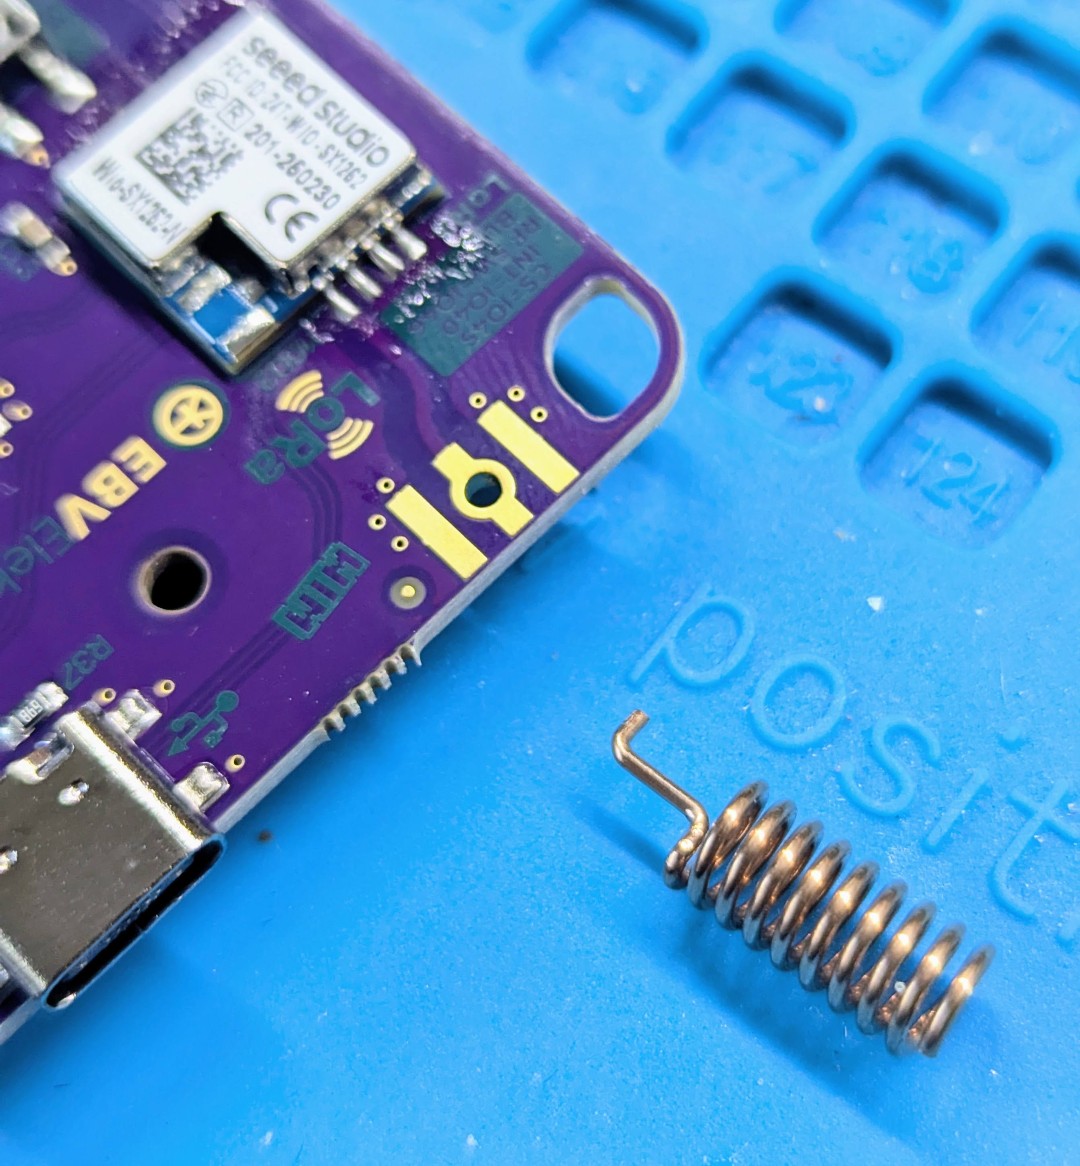
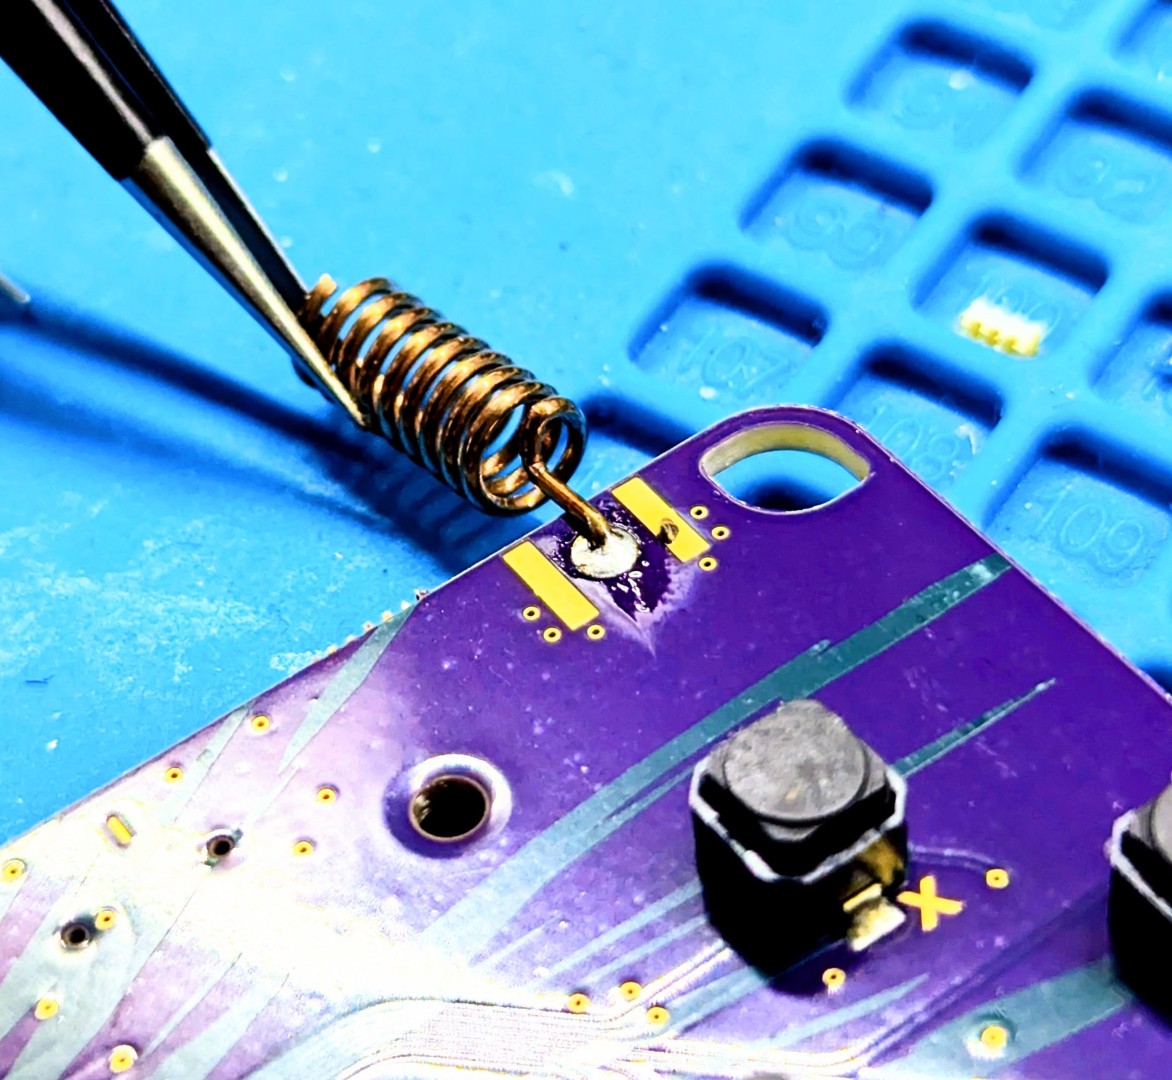
The usage of a pincet is crucial here, because the antenna will get burning hot during soldering!
Extension
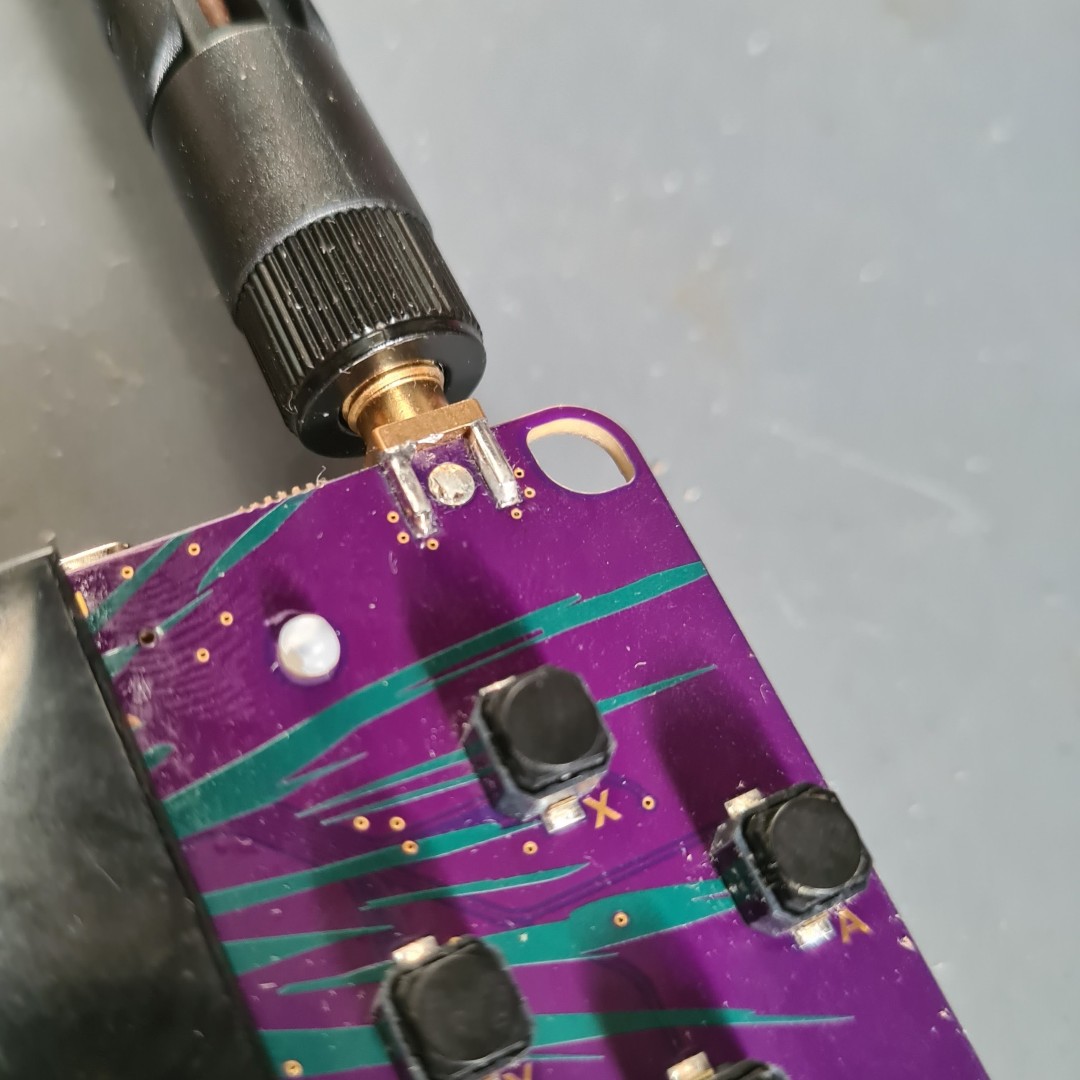
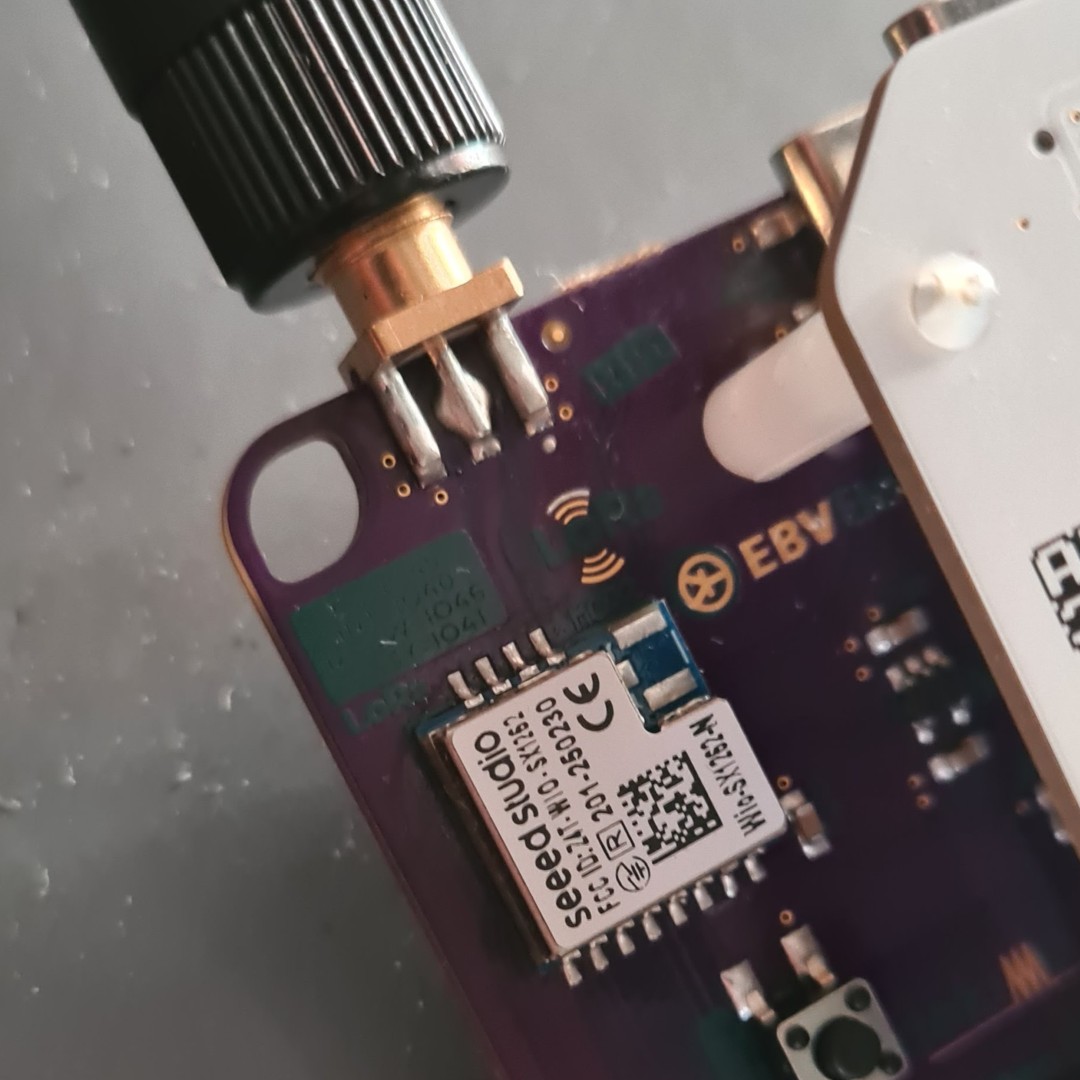
This kit contains a SMD SMA connector and a 5dBi Gain 868MHz antenna.
⚠️⚠️⚠️ Do not use the module without antenna to prevent damage to the module ⚠️⚠️⚠️
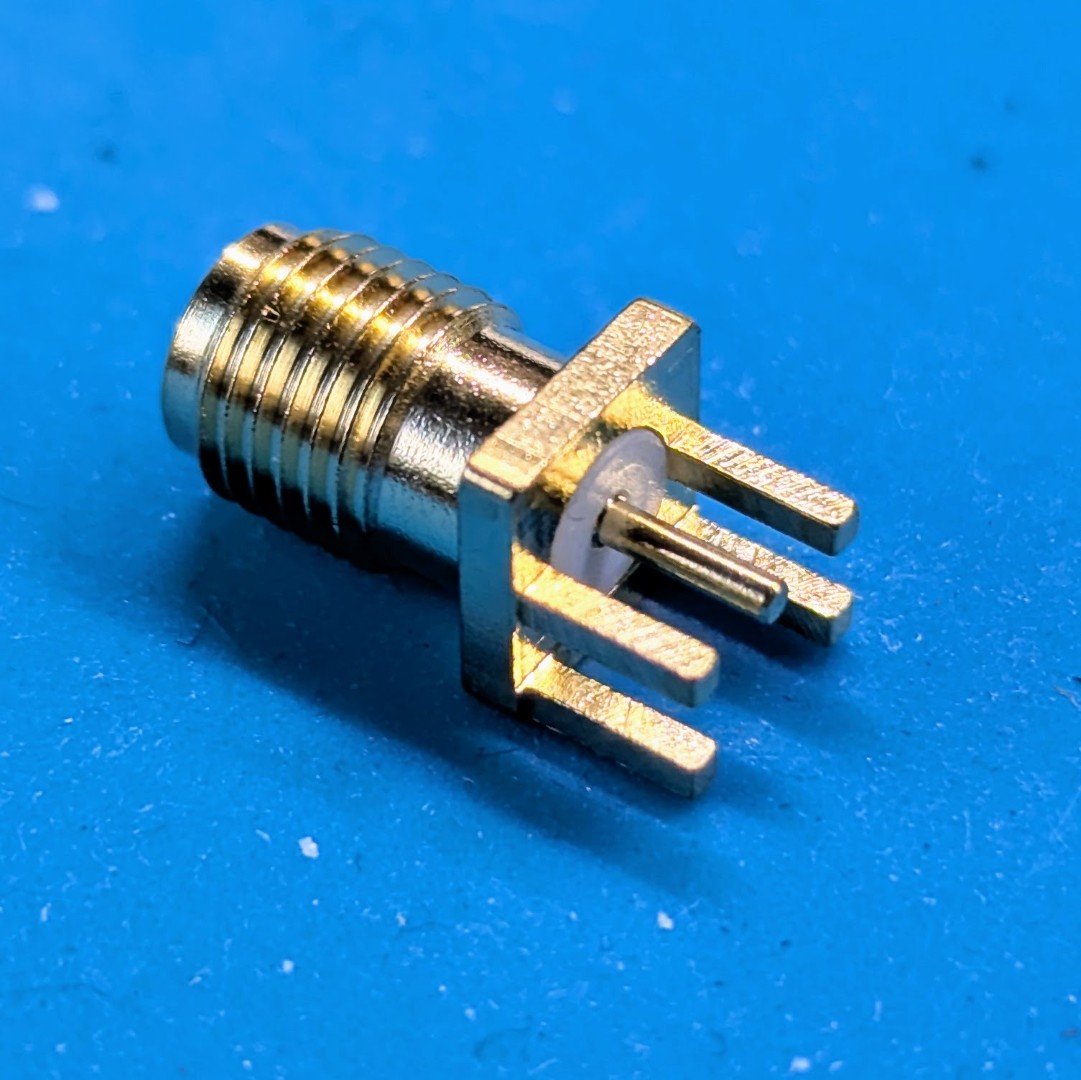
A pincet is needed when soldering the connector, because it will get burning hot, just as with the antenna. Patience can help to get a good solder connection, the metal that you want to solder to the PCB (in this case the metal SMA connector) has to be warm enough for the solder to stick and flow. So heat it up enough so that the solder flows nicely.