Would you like to help with this documentation?
Thank you so much for wanting to help! Every contribution, large or small, makes this documentation better for everyone. No technical knowledge or special software is required to contribute.
Logging in to the documentation portal
Go to https://fri3d2026.netlify.app/badge_2026/admin/. This is where you will find the editor.
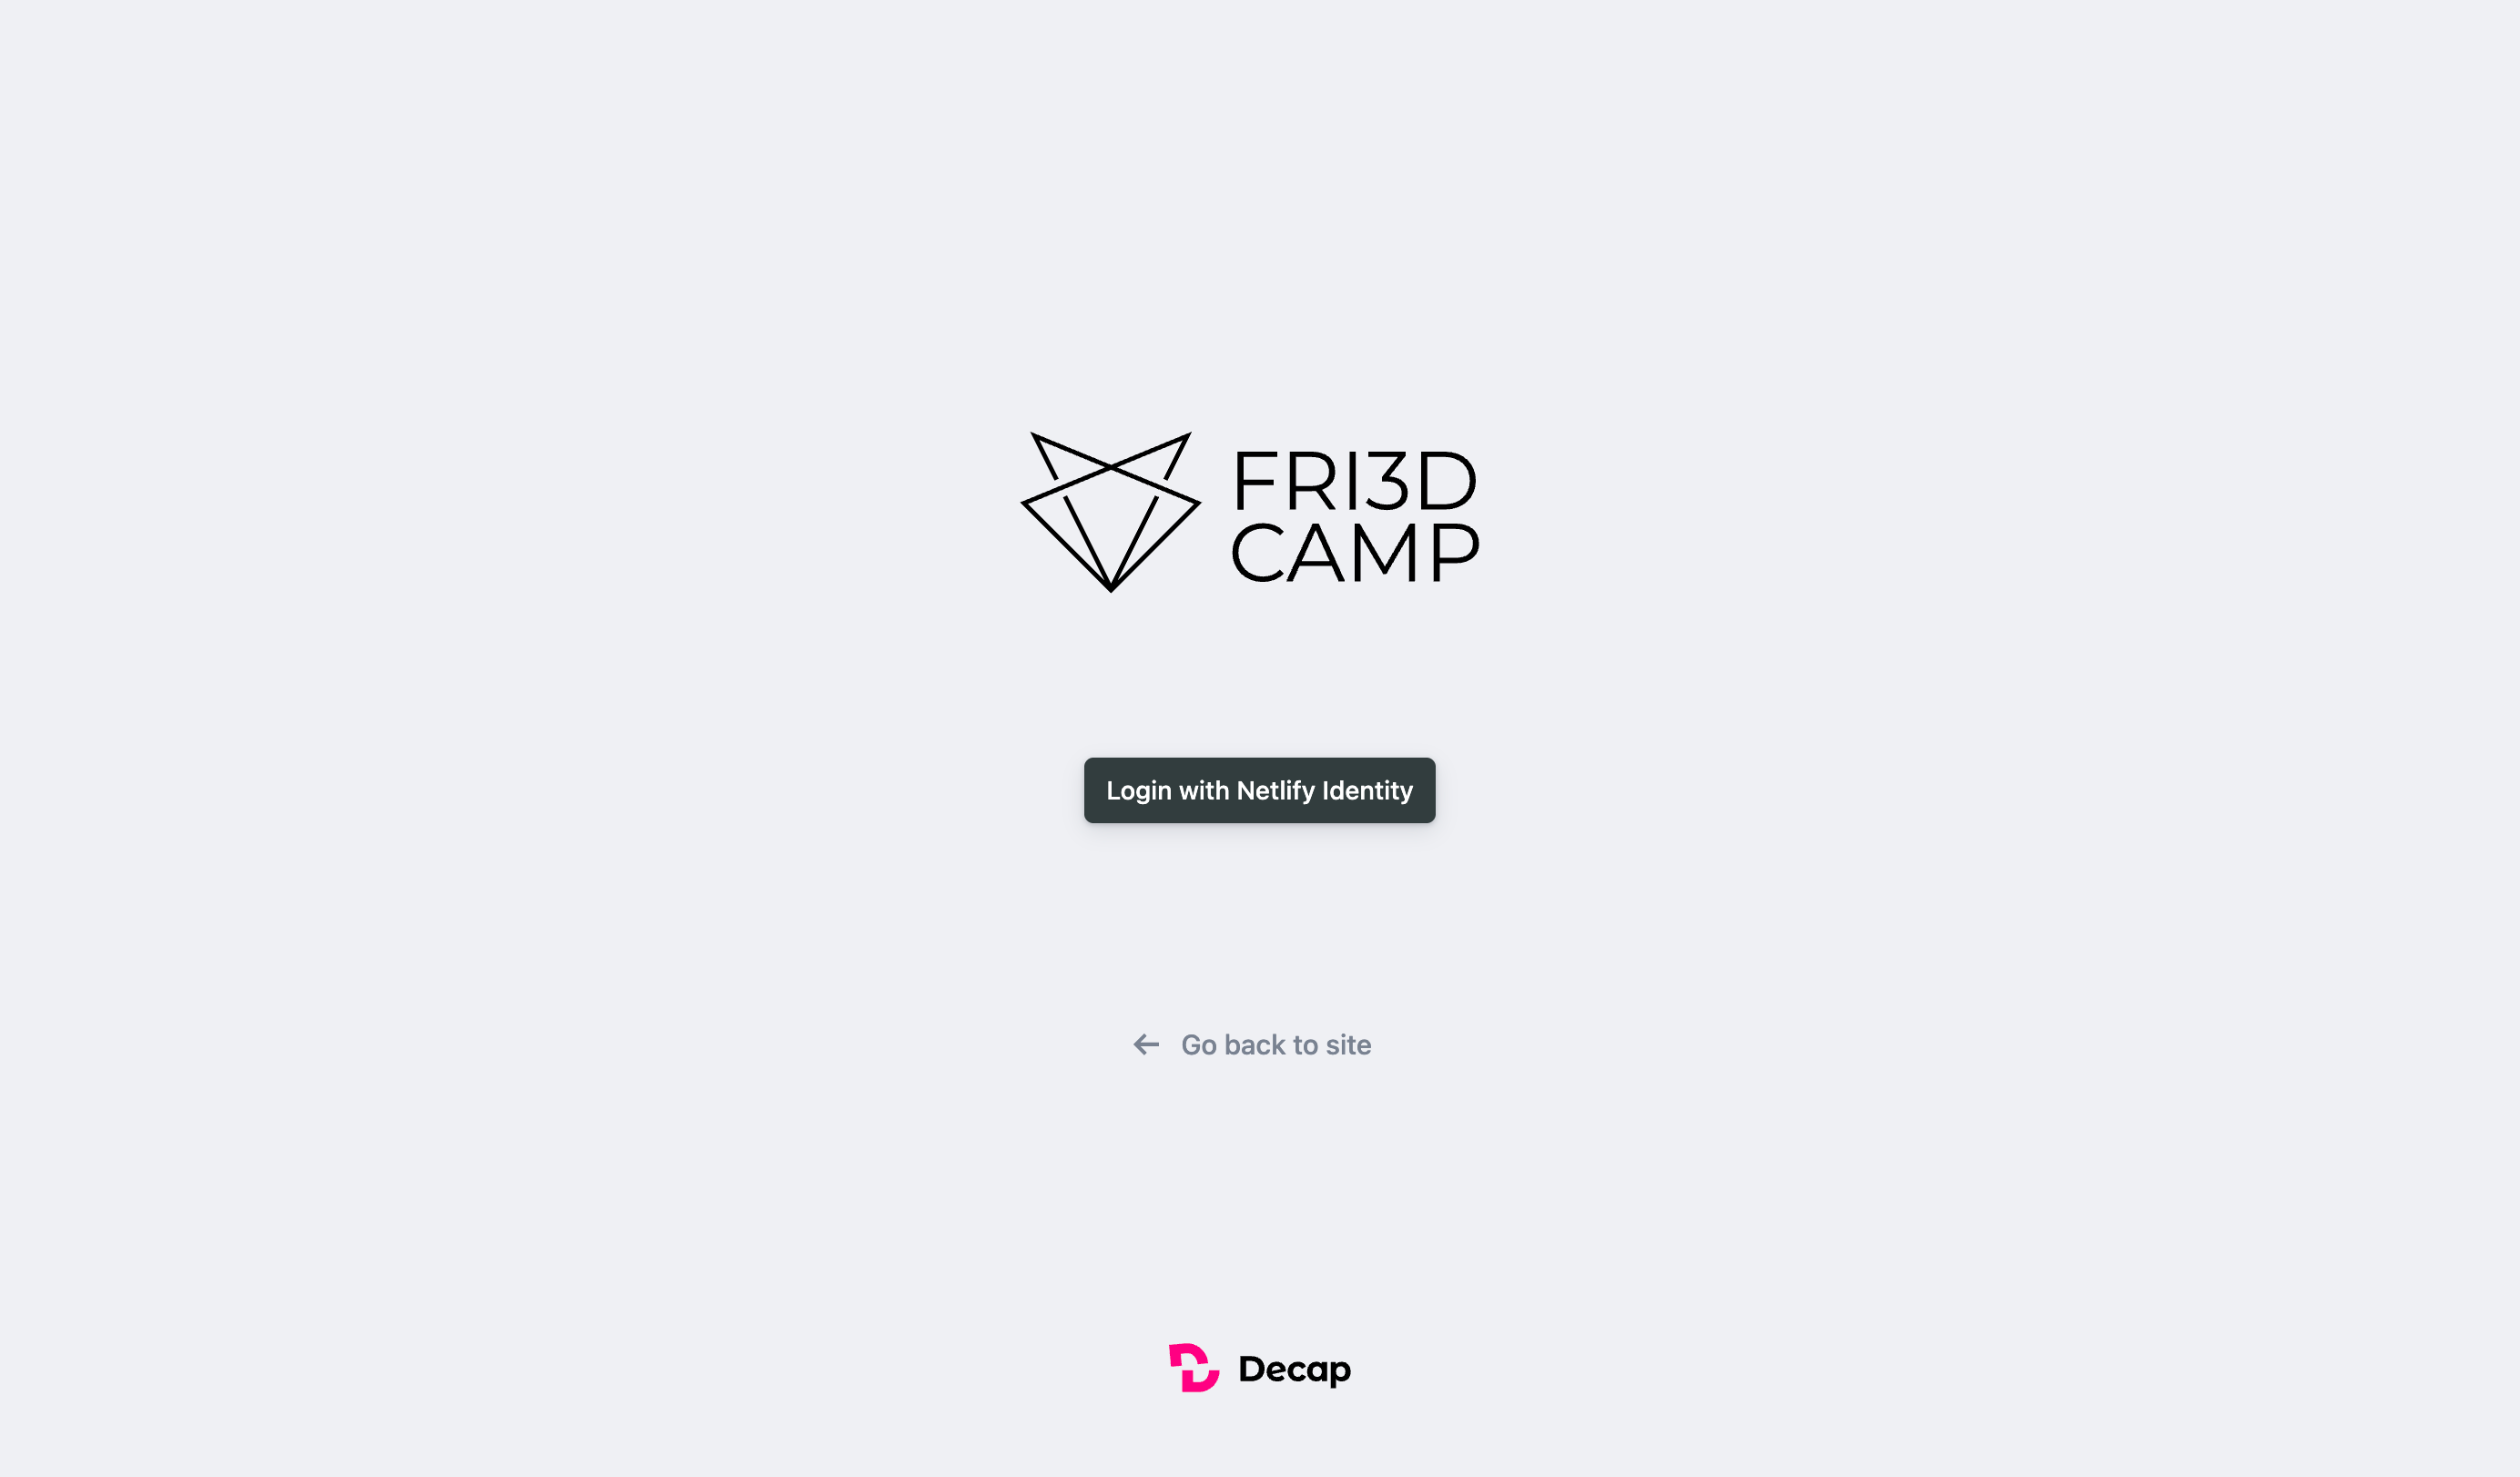
Click Login with Netlify Identity
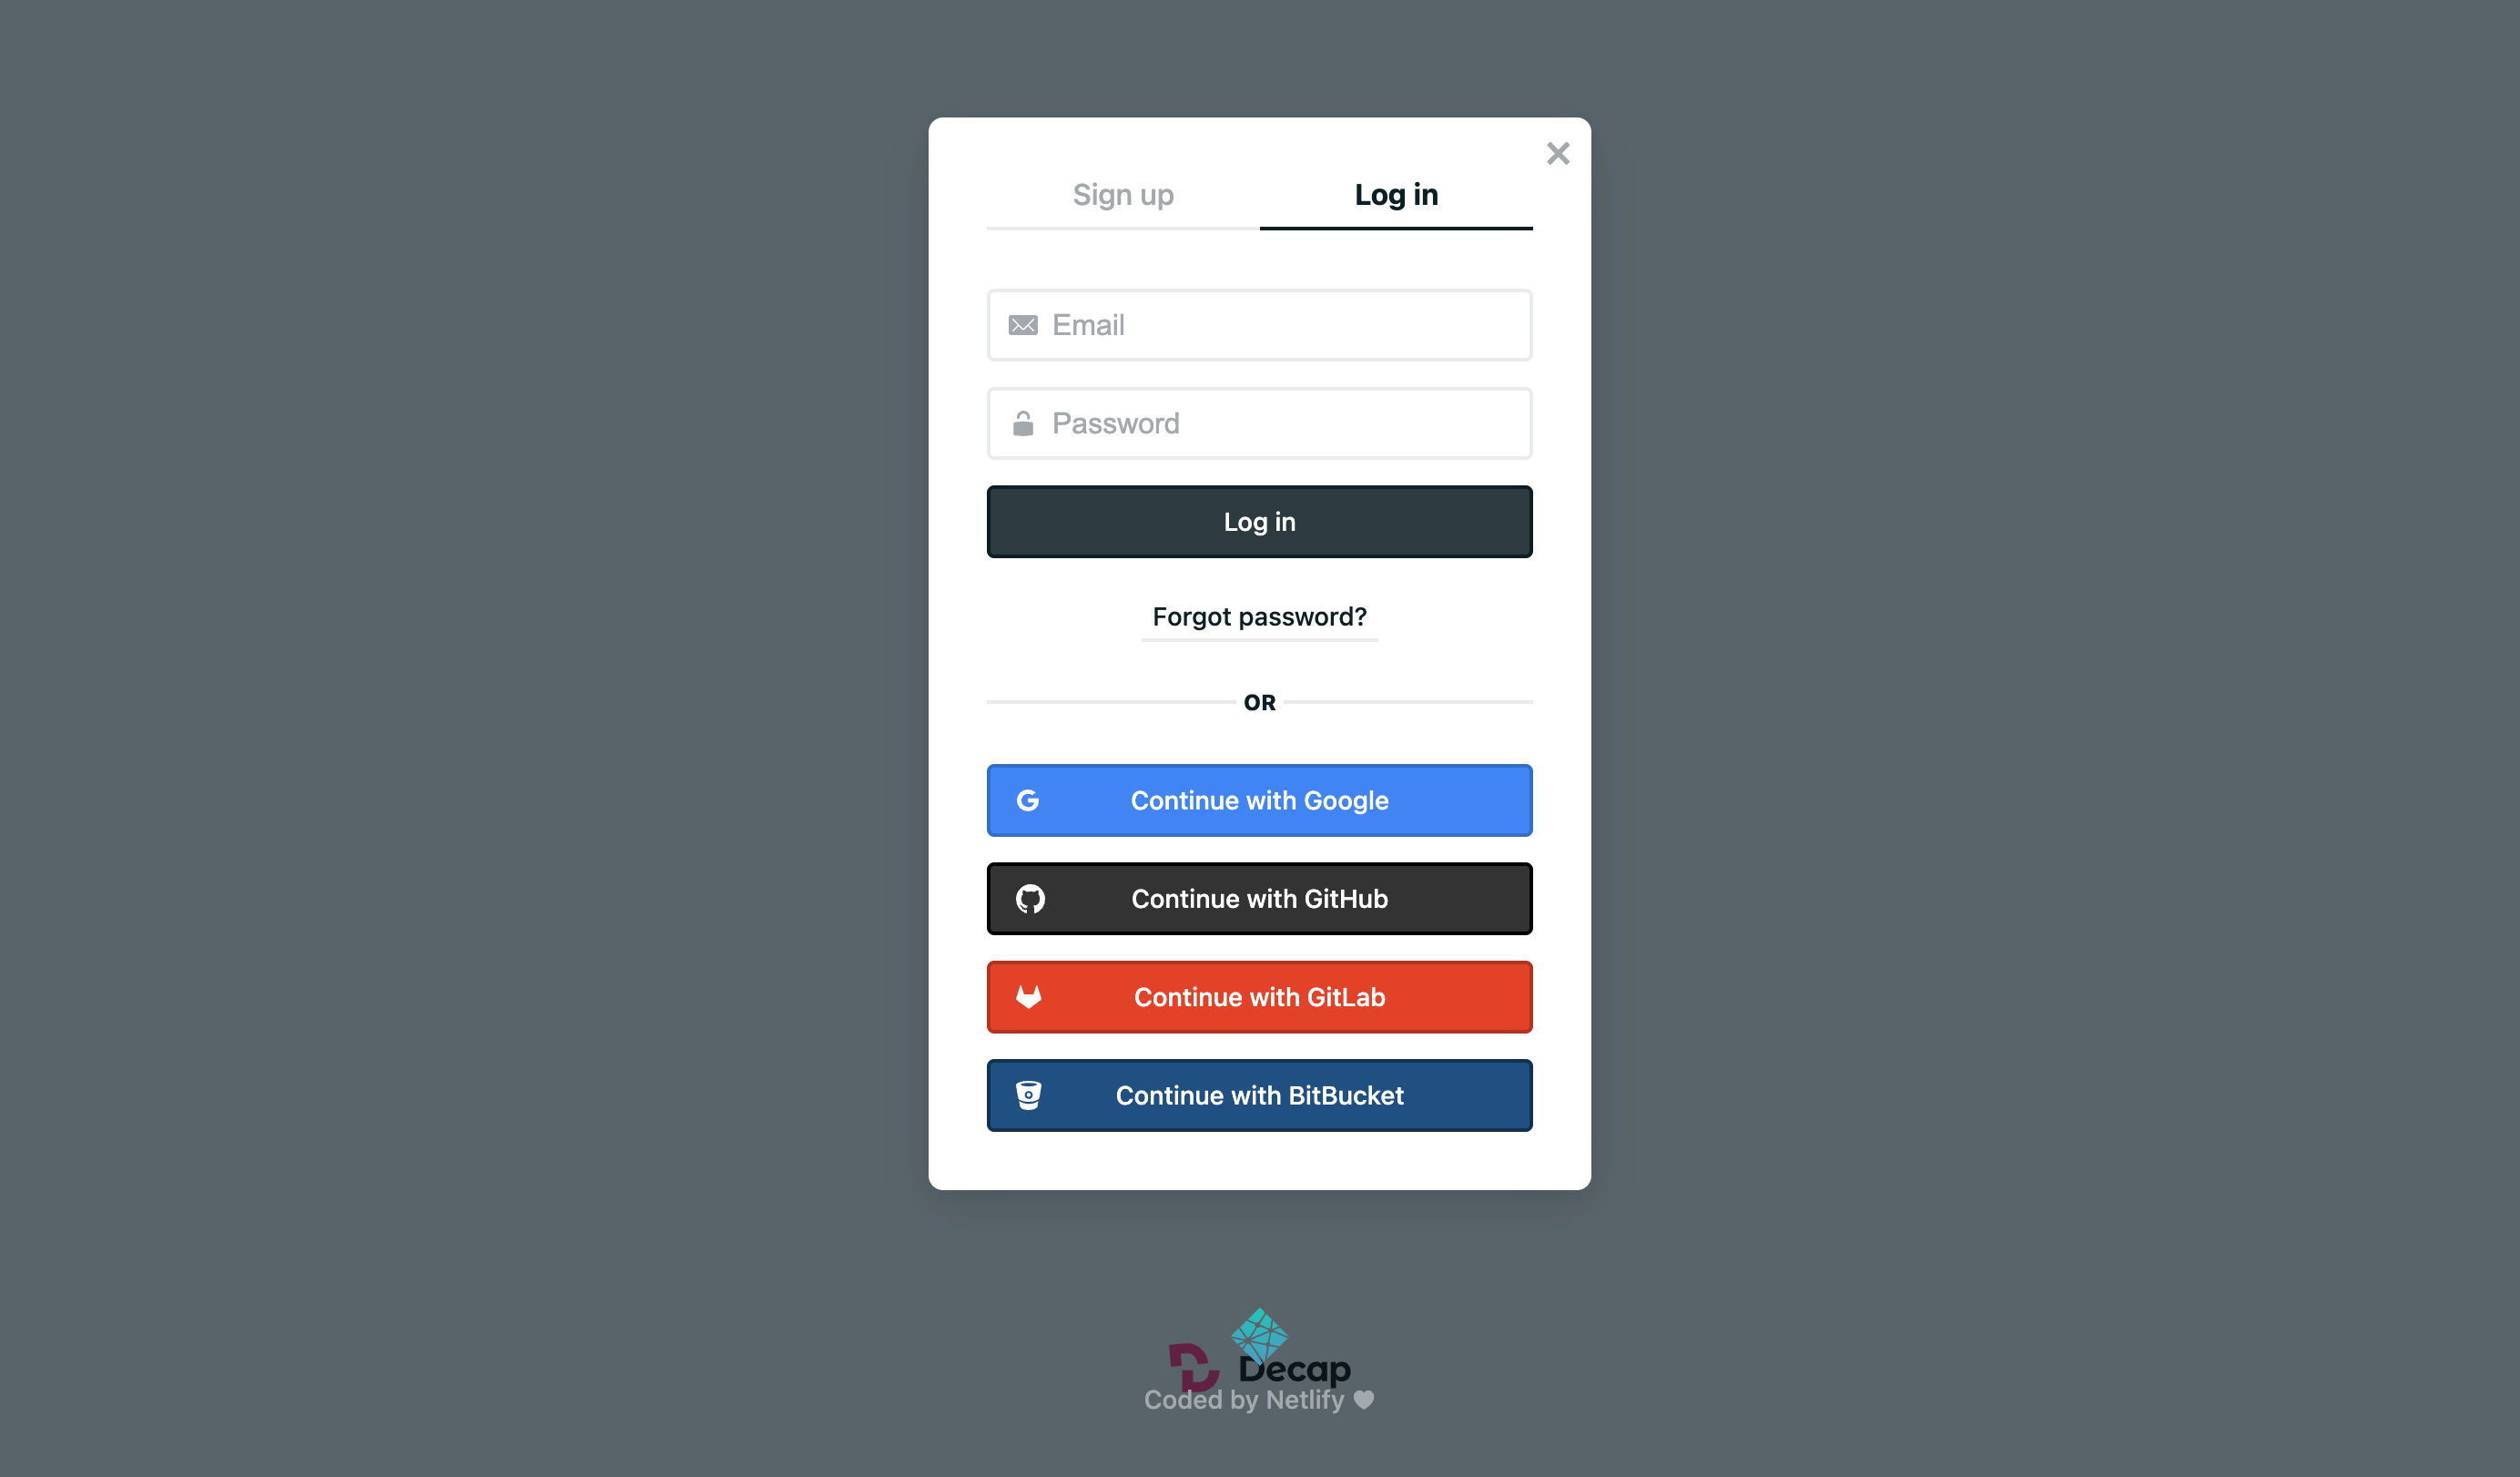
Sign in with an account of your choice, such as Google or GitHub, or simply use your email address and a password. If you choose to use an email address, you will first receive an email to activate your account.
Once you are logged in, you will see an overview of all current pages.
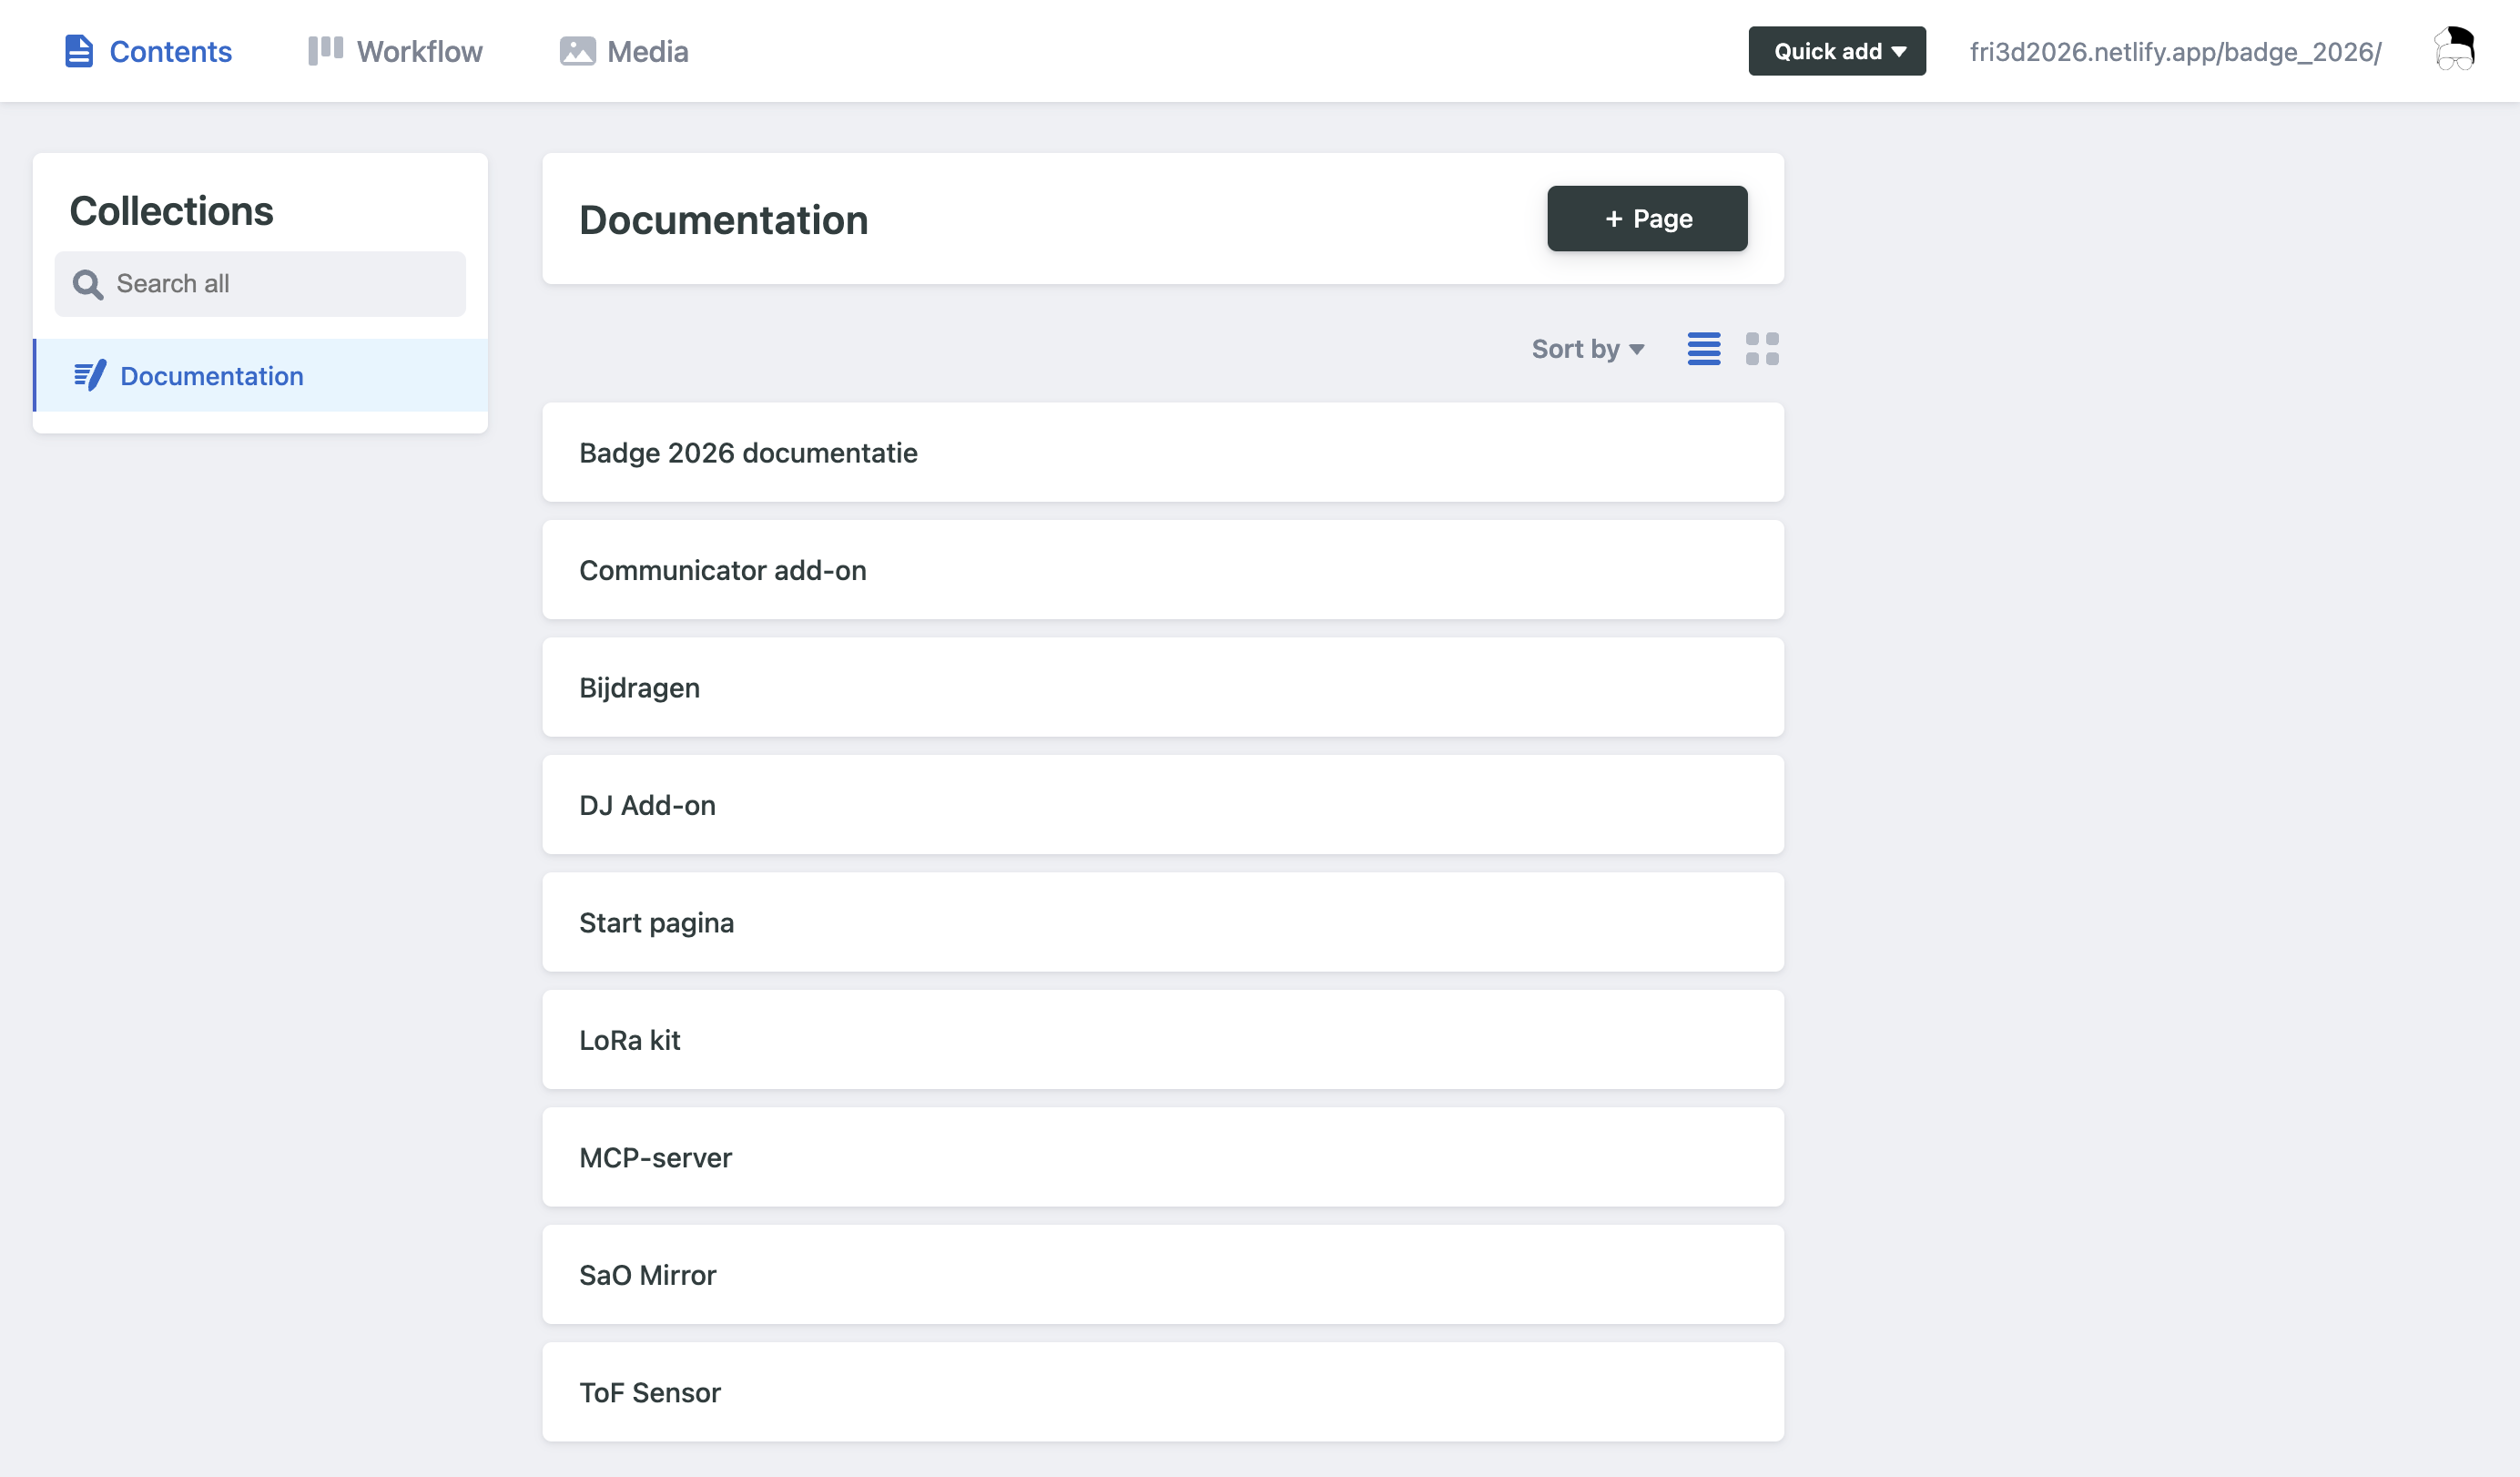
You can now choose either to add a new page or to edit an existing page.
Adding a new page
On the overview page, click the black +Page button. This opens a new screen with a blank page.
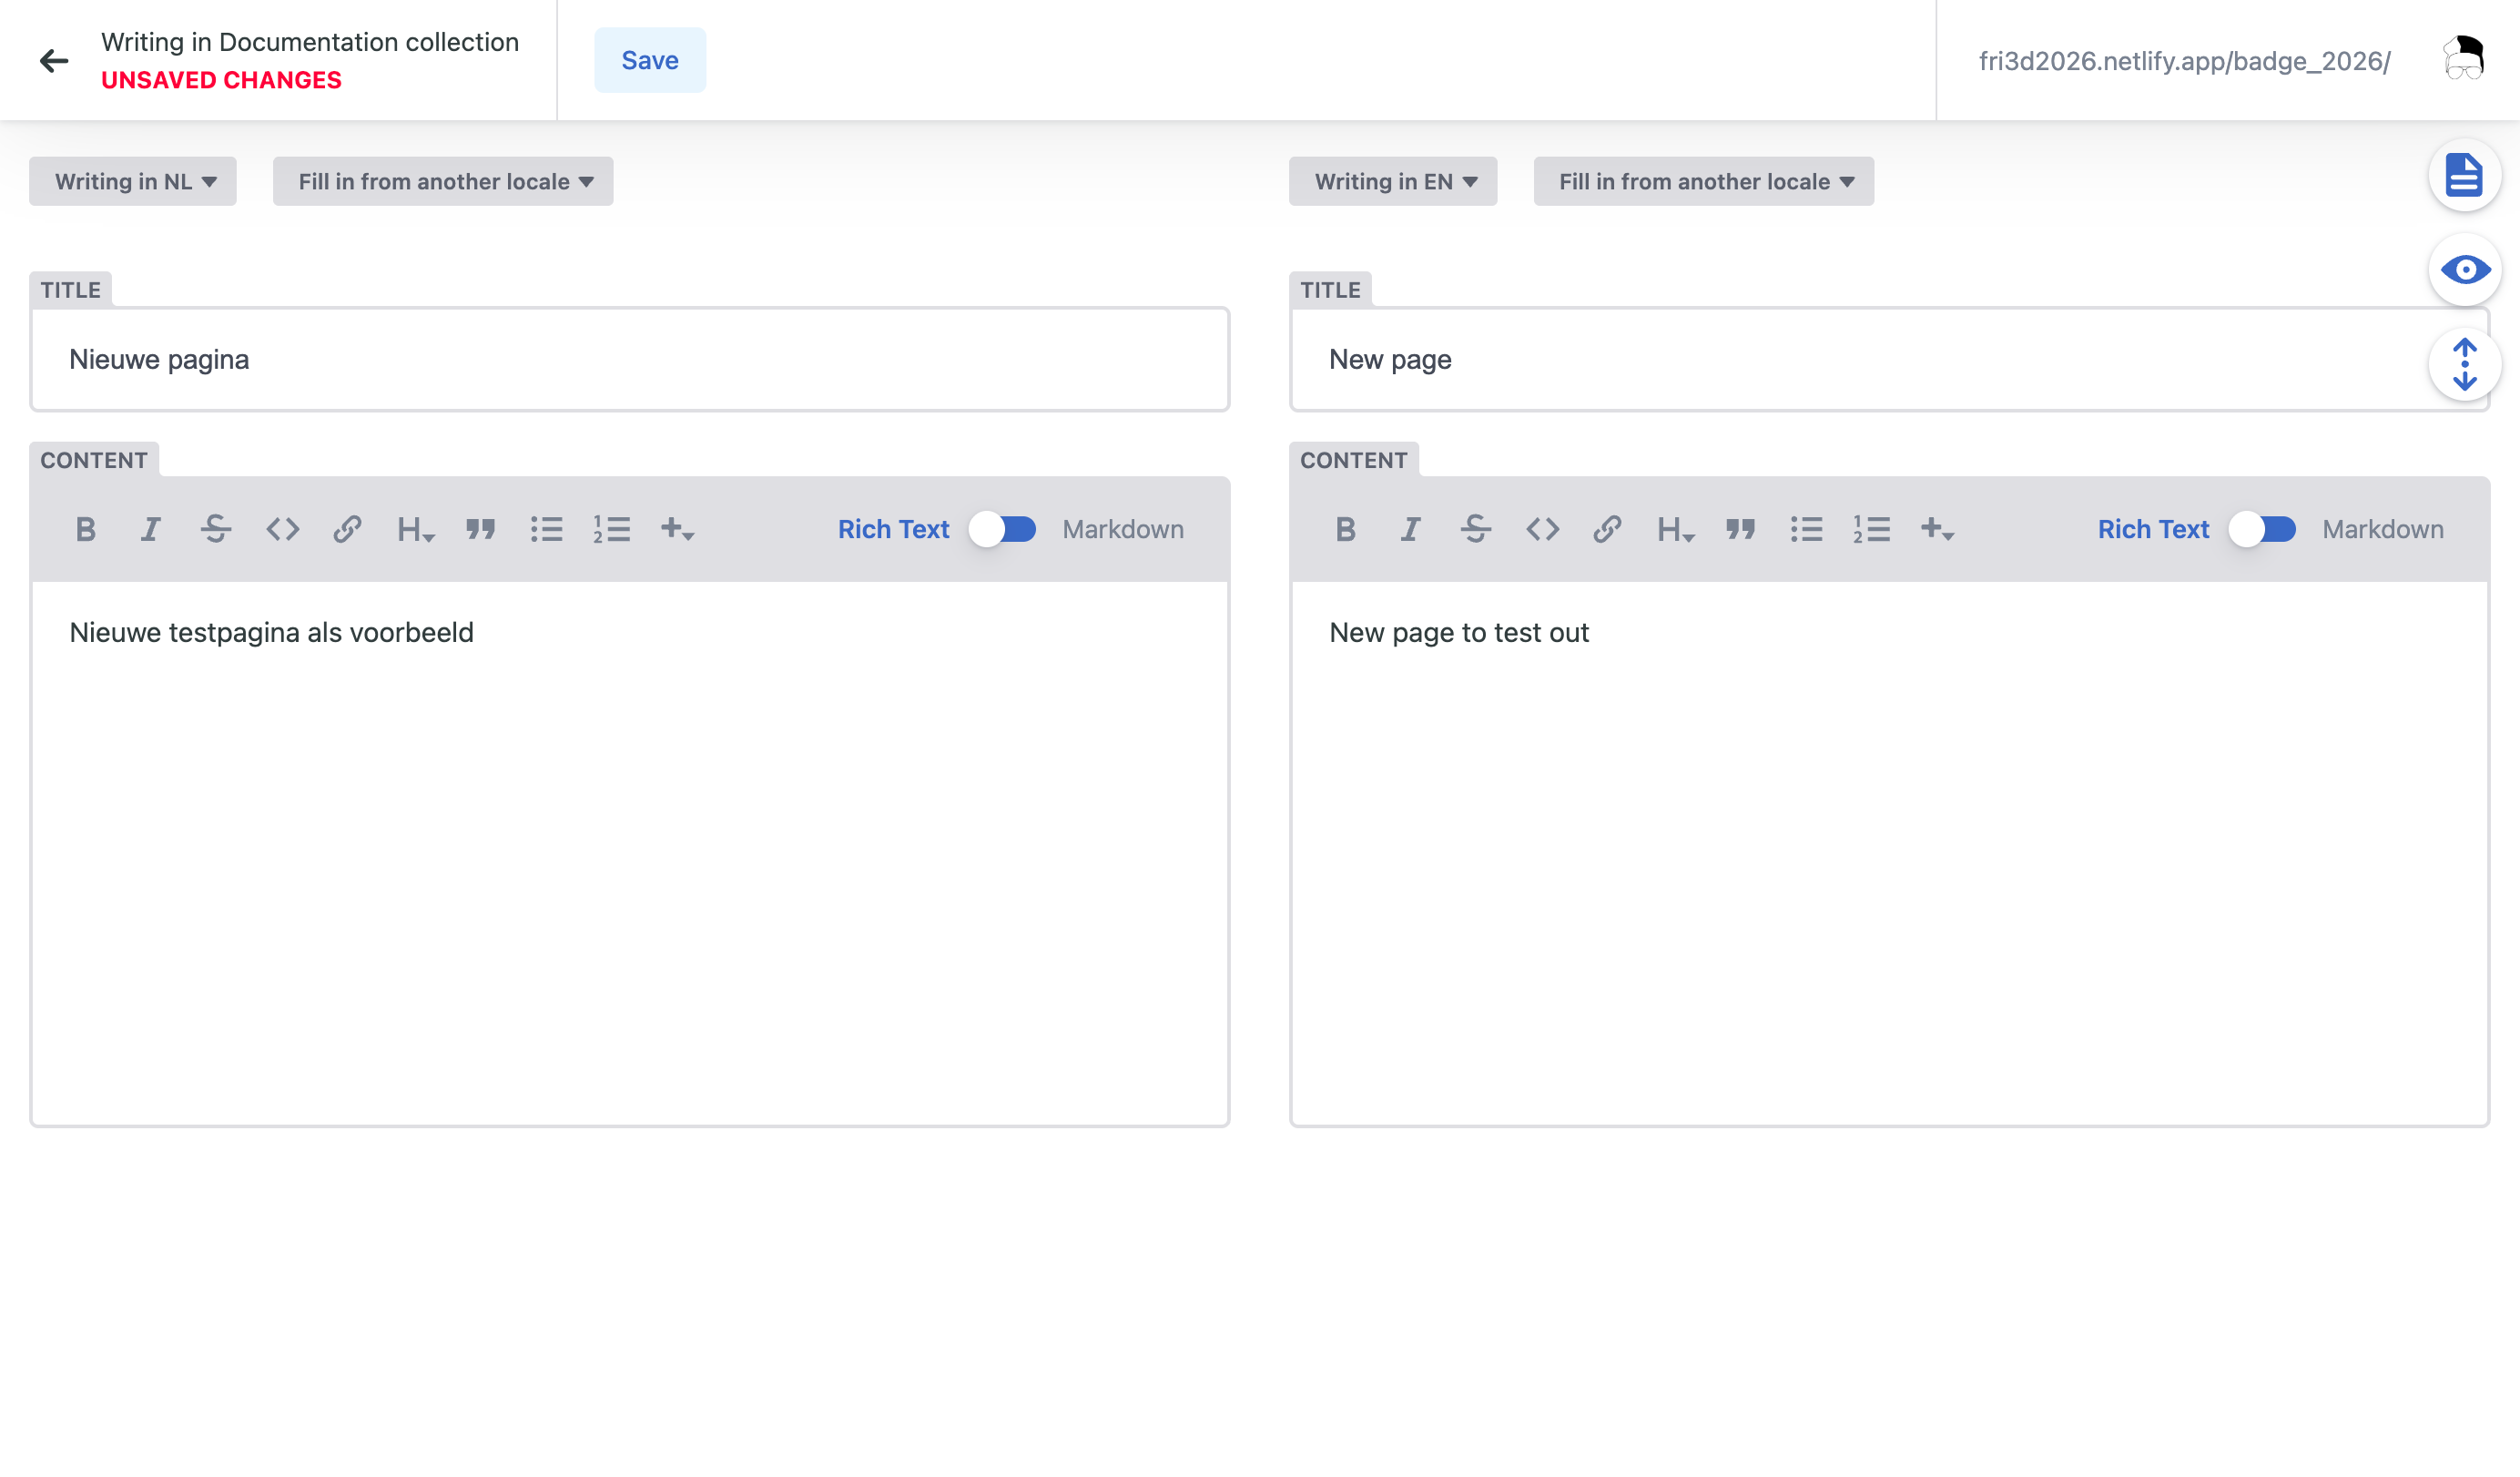
By default, you will see a split view. The text in Dutch is shown on the left, and the text in English on the right. We prefer to have the text available in both languages.
The content of the Title field becomes the title of the page, and also the name the page gets in the menu on the left-hand side. A new page does not appear in that menu automatically: you add it yourself, see Editing the menu.
On the right-hand side of this screen, there are several buttons for adjusting the view.
 Language button: shows or hides the language field on the right.
 Preview button: shows or hides a preview of how the text will appear on the website. The Language button must be turned off for this to work!
 Scroll button: when enabled, the preview window scrolls along as you type.
You can now enter the information you want. You do not need to get everything right the first time. You can save your work in between and continue later.
When you are finished, or want to continue later, click Save at the top.
You do not need to worry about breaking anything. Your changes will not go online immediately and will be reviewed before they are published on the documentation website.
Editing a page
On the overview page, click the page you want to edit. You will then see the same screen as when creating a new page.
Make the changes you want in Dutch and English, then click Save.
Editing the menu
The menu on the left-hand side of the documentation website (the order of the pages and the sections such as Hardware and Software) is also edited in the admin screen.
In the left bar of the admin screen, click Menu and open Website menu (left sidebar).
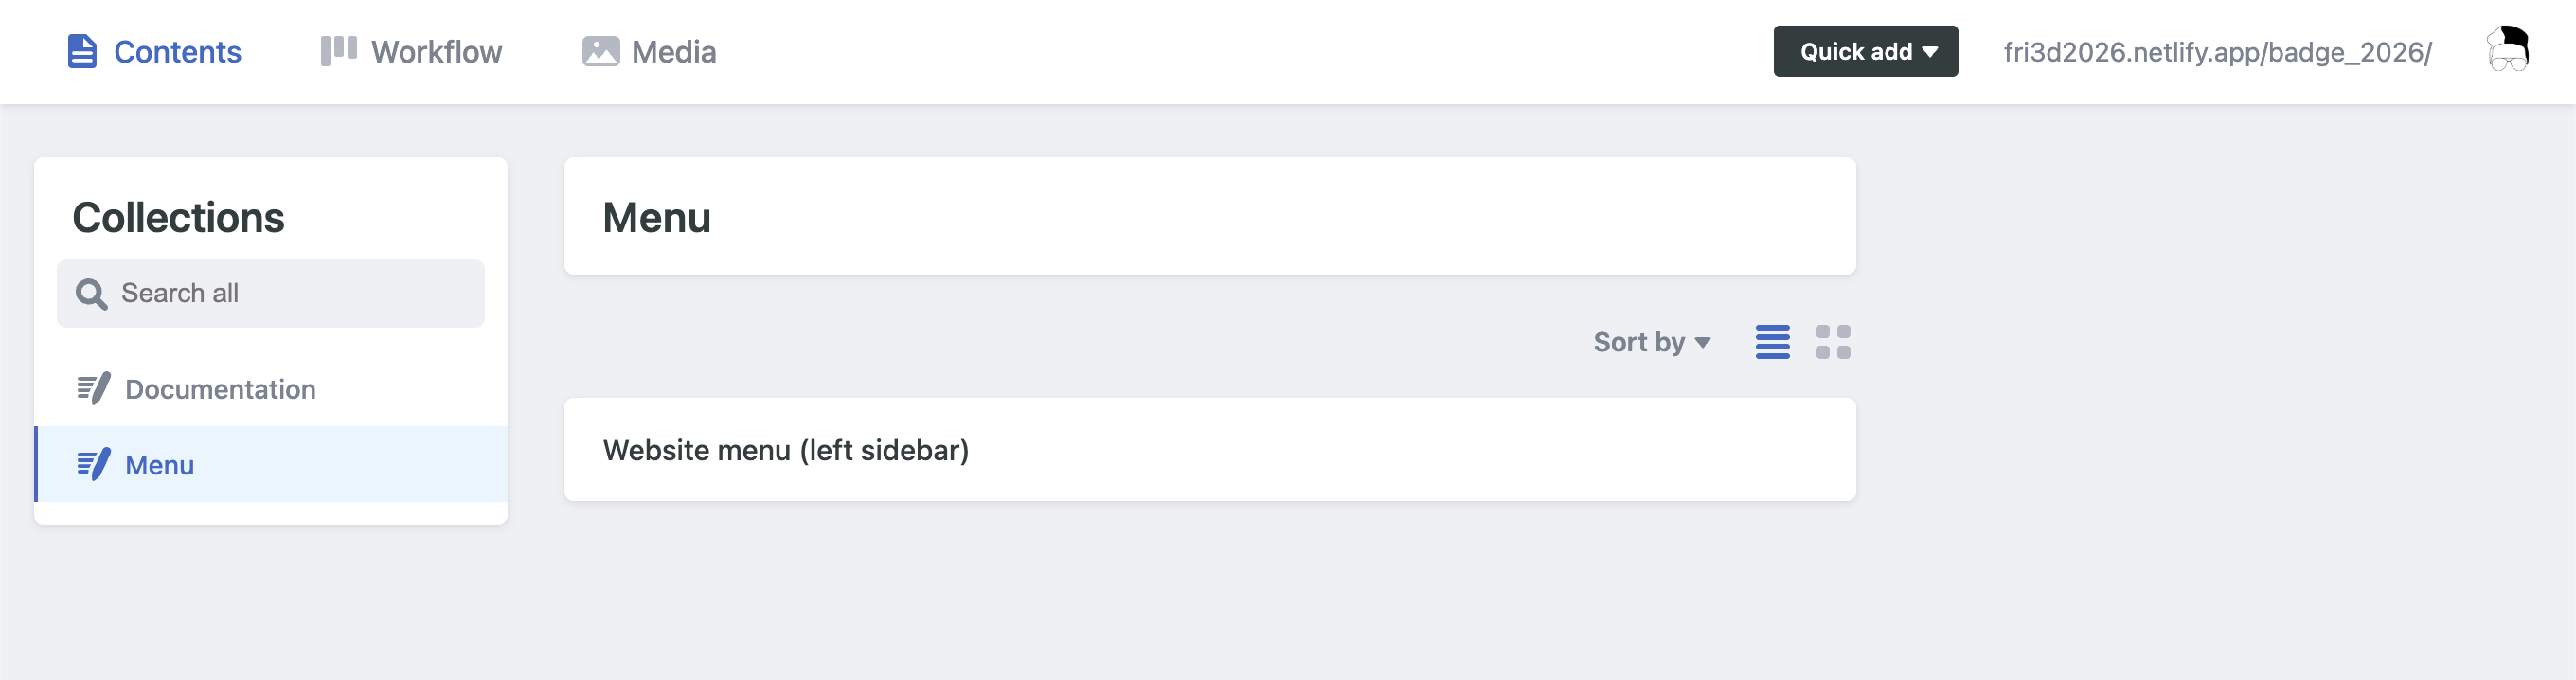
You now see the list of menu items:
- Changing the order: drag an item to the desired position.
- Adding a page: click Add menu item and choose Page. Then pick the page from the list. You can leave the title fields empty: the page's own title will be used. Only fill them in when the menu should show a different (for example shorter) name.
- Adding a section: choose Section under Add menu item. Give the section a Dutch (and optionally English) title and add pages to it.
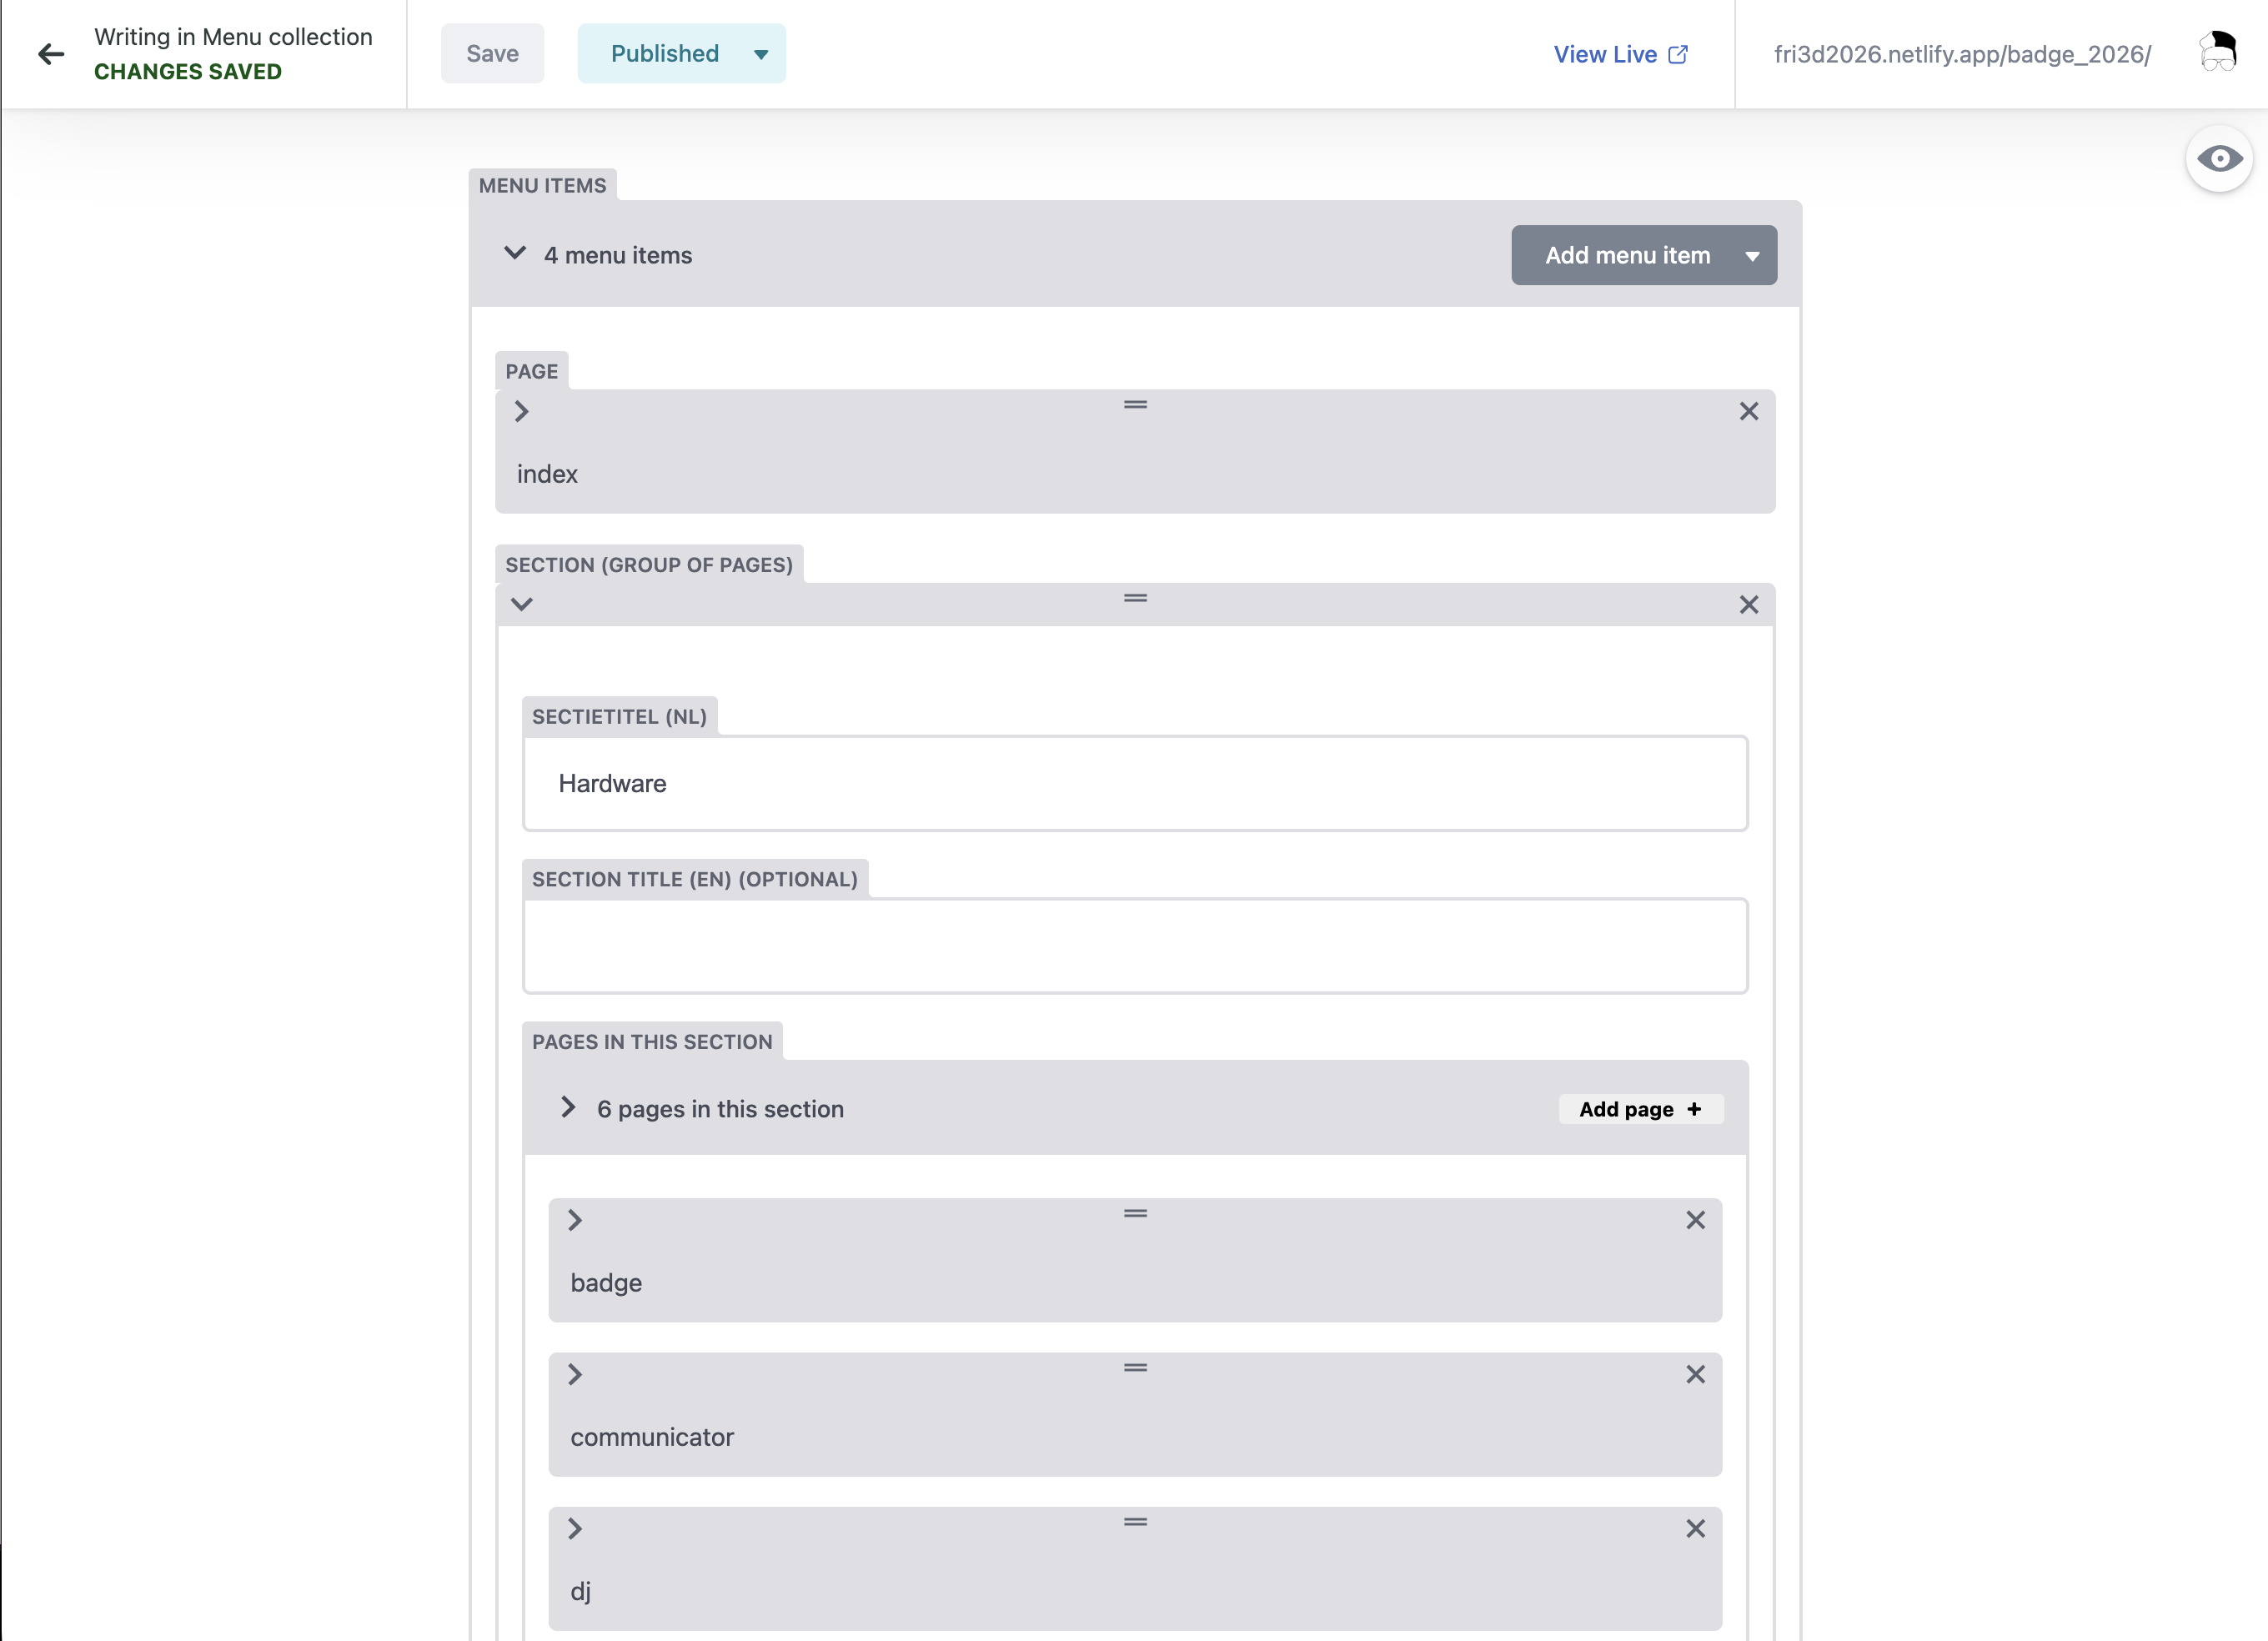
Then click Save. Just like pages, menu changes do not go online immediately: they are reviewed first.
What happens to your changes?
When you are finished, it is best to send a message in the Badge 2026 channel on Discord or speak to a Fri3d Camp staff member. They can then review your edits and publish them on the website.
Are you more technically inclined?
That works too! You can always contribute directly through GitHub: fork the repository, edit the Markdown files in the docs/ folder, and open a Pull Request. The README contains all the information you need.
Editing the menu through GitHub
The menu lives in nav.yml in the repository root (the same file the Menu collection in the admin screen edits). Each item refers to the file name without the language suffix (so my-page, not my-page.nl). The menu order is simply the order in the file; menu titles come from the page titles, unless you override them per item with title_nl/title_en.
Thank you again for helping! 💚